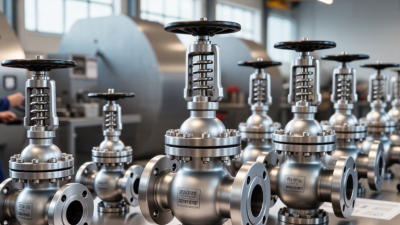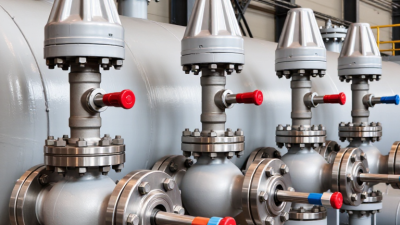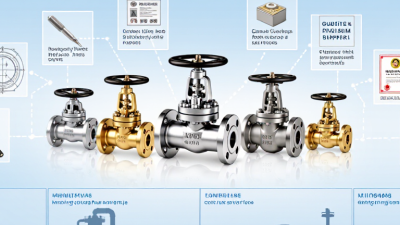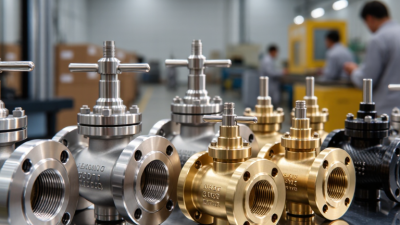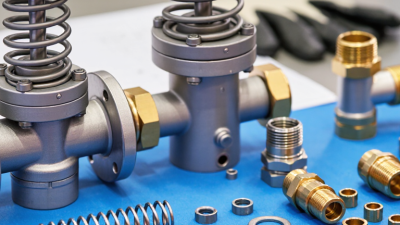
A temperature and pressure relief valve is a small fitting with a serious job. On a water heater, it opens when temperature or pressure rises beyond its rated limit. A properly selected valve can help reduce the risk of equipment damage and dangerous discharge. The details matter: pressure rating, temperature setting, connection size, materials, and compatibility with the appliance. A valve that looks right on a shelf may still be wrong for a specific system.
Hydronic-systems educator John Siegenthaler’s safety guidance can be paraphrased this way: “Relief protection must match the system and provide a safe path for discharge.” That principle is useful when comparing the seven options in this guide. Check each manufacturer’s specifications, installation instructions, and applicable product approvals. Never choose by price or appearance alone. A visible rating label helps; a neat brass body does not prove compatibility.
The best choice depends on the heater, operating conditions, and installation—not just online rankings. Some valves suit common residential tanks. Others serve different equipment or connection requirements. Small print can change the decision. This shortlist is a starting point, not a substitute for checking the appliance manual or consulting a qualified professional when specifications are unclear. Even a good valve cannot correct a poorly designed discharge arrangement. That part deserves a closer look, too.
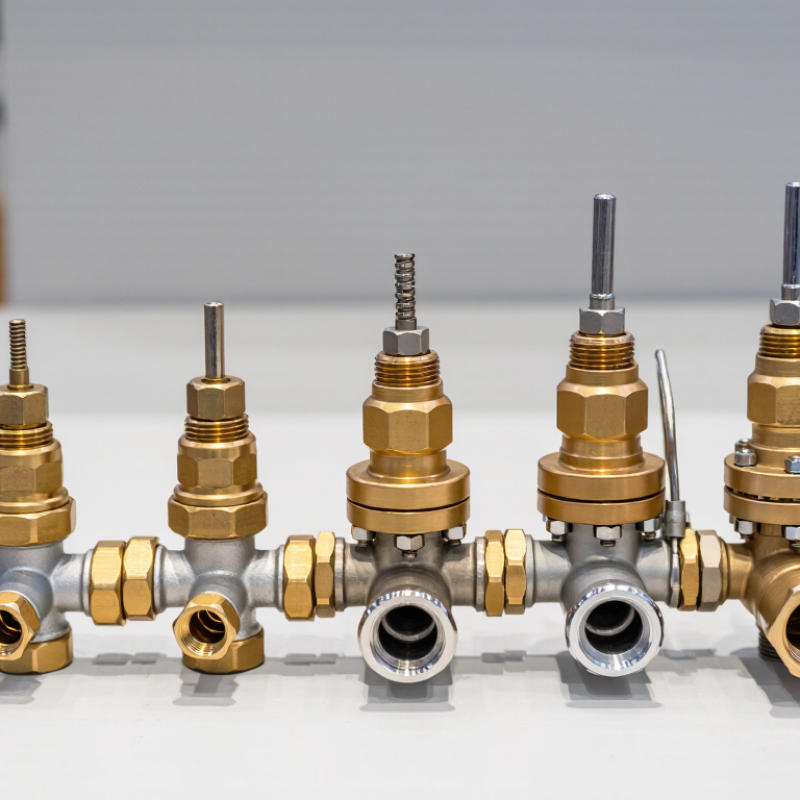
A temperature-and-pressure relief valve gives a water heater a controlled escape route when heat or pressure rises too far. Without that release, expanding water can stress the tank, fittings, and connected plumbing. When the valve opens, hot water exits through a discharge pipe. That pipe should end somewhere visible and safe, not above a walkway. It can release scalding water.
The ANSI Z21.22/CSA 4.4 standard covers relief valves for hot-water systems. Residential water-heater valves commonly have a 150-psi pressure setting and a 210°F temperature setting; check the heater’s data plate and valve markings, since equipment ratings vary. The U.S. Department of Energy’s Energy Saver guidance recommends 120°F for many household water heaters. That is a normal operating target, not the valve’s emergency trigger. The distinction matters.
A valve cannot correct every cause of rising pressure. A closed plumbing system may need a properly sized thermal expansion tank, and a leaking valve may signal debris, wear, or excess pressure. Keep the discharge opening unobstructed. Never cap it. Maintenance is easy to postpone. Still, corrosion, mineral deposits, or a blocked outlet can prevent safe operation; have a qualified plumbing professional inspect questionable parts and follow the heater manufacturer’s maintenance instructions.
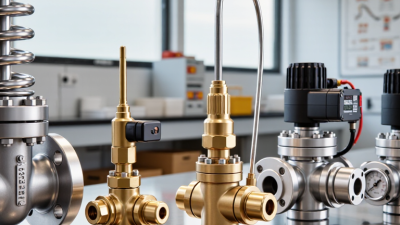
A temperature and pressure relief valve monitors two hazards inside a water heater: excessive heat and excessive pressure. In a common mechanical design, a temperature-sensing probe extends into the tank. If water becomes too hot, the sensing element triggers the valve to open. A pressure-responsive mechanism also reacts when pressure rises beyond its set limit. No electronics are required.
The two safeguards work independently. The pressure mechanism typically uses a spring-loaded disc, while the temperature mechanism responds to heat near the probe. When either limit is reached, the valve releases water through its discharge outlet. You may see a brief burst of hot water. That is a warning, not a normal operating feature.
Setpoints vary by equipment, so check the heater’s documentation rather than assuming one threshold fits every system. The valve can also fail, and mineral buildup may interfere with its moving parts. That detail is easy to overlook. A blocked discharge pipe or repeated leaking deserves attention from a qualified technician; simply replacing the valve without checking the cause may miss an underlying problem.
A useful comparison starts with the valve’s temperature and pressure ratings. They must match the water heater’s specifications, not just its pipe size. Check the appliance label and installation manual. Fit matters. A valve with the wrong pressure setting may not provide suitable protection.
Compare relief capacity, connection type, and materials for the heater’s operating conditions. Capacity should meet or exceed the appliance’s stated requirement. Look for applicable safety certification, and confirm the valve is approved for the intended water-heating use. Small details count: thread type, outlet direction, and clearance around the tank can affect installation. Check the label.
The discharge connection deserves equal attention. It should accept the required pipe size and allow a clear, unobstructed route to an approved termination point. Local installation rules may vary, so verify them before choosing. Corrosion-resistant materials can matter where water quality is harsh, but “stainless” alone does not guarantee compatibility. It is easy to overlook service access, too. Compare replacement guidance and inspection instructions, then have a qualified professional assess uncertain ratings or fit.
Seal temperature capability is one useful comparison point. The chart shows approximate service-temperature ranges commonly cited for relief-valve sealing materials; actual limits depend on material grade, fluid, pressure, and operating conditions.
When comparing valves: also check set pressure against the system’s maximum allowable working pressure, certified relieving capacity, fluid compatibility, applicable code approvals, and any pressure or temperature derating. Confirm final limits with the valve manufacturer.
Seven standout temperature and pressure relief valves are best compared by fit, capacity, materials, and discharge design—not appearance alone. A conventional residential valve suits many standard water heaters, while a higher-capacity model may be needed for equipment with greater heat output. A long-probe design can reach deeper into the tank for temperature sensing. Compact bodies help where clearance is tight, but they still need room for inspection and safe replacement. Fit matters.
Material choices also shape performance. Corrosion-resistant construction can be useful in demanding water conditions, though no material is immune to every problem. A valve with a test lever makes periodic checks more practical; the lever should move freely, and discharge must be directed safely. Angled outlet designs can simplify piping in cramped utility closets. These features may overlap, so they are not seven completely separate categories. That is an imperfect shortcut, but it helps compare real installation needs.
Before choosing, match the valve’s pressure and temperature ratings, connection size, and capacity to the heater’s requirements. Do not select a valve by guessing or changing its settings. Check the heater documentation and applicable installation standards, and have a qualified technician assess uncertainty. A tidy installation is reassuring. Still, a correct rating and unobstructed discharge line matter more than a polished finish.
A temperature and pressure relief valve protects a system when heat or pressure rises beyond safe limits. Correct installation matters. Check that the valve’s pressure and temperature ratings match the equipment specifications. Fit it in the designated opening, and avoid adding shutoff valves or fittings that could obstruct its operation. The discharge pipe should match the required diameter, slope downward where specified, and end at a visible, safe location. Keep its outlet unobstructed. Follow the equipment manual and local requirements; small installation details can vary.
Testing and maintenance need care. Before operating a test lever, read the manufacturer’s instructions and consider the risk of hot water or steam. Direct discharge away from people, and never block the outlet. A brief flow may confirm movement, but it does not prove the valve will open at its rated conditions. Inspect periodically for corrosion, mineral buildup, leaks, or a damaged pipe. If the valve fails to reseat or shows damage, have a qualified technician assess it. I have seen routine checks overlooked; that is easy to do, but not harmless.
Tips: Keep the discharge end visible and clear. Record inspection dates. Don’t force a stiff lever. When in doubt, stop and consult a qualified technician.